Mastering the Grandparents Photo Magnet Laser Cut: A Guide to Digital Design Success
There is a unique warmth in creating personalized gifts that honor family history, and few projects capture this sentiment quite like a Grandparents Photo Magnet Laser Cut. Whether you are a seasoned craft entrepreneur or a hobbyist looking to make a heartfelt present for Mother's Day, the idea of framing cherished memories within an intricate laser-cut border is incredibly appealing. However, before you fire up your machine or list a new product in your online shop, it is crucial to understand exactly what you are working with. Many creators stumble not because they lack skill, but because they misunderstand the nature of the digital files they purchase. This guide will walk you through the essentials of using these designs effectively, helping you avoid common pitfalls that can waste time, material, and money.
Understanding the Digital Nature of Your Purchase
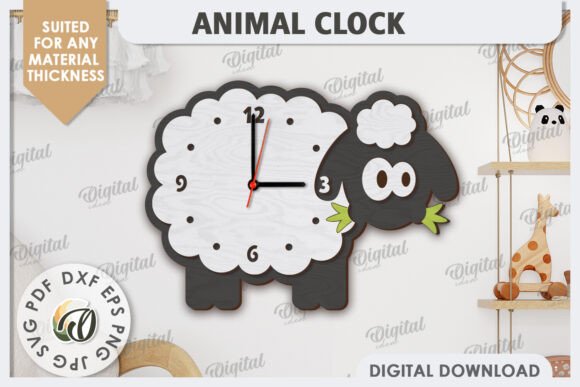
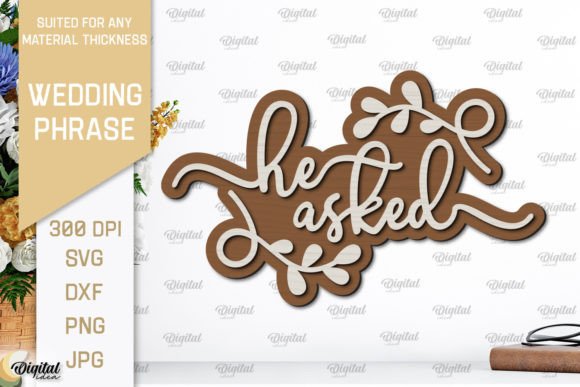
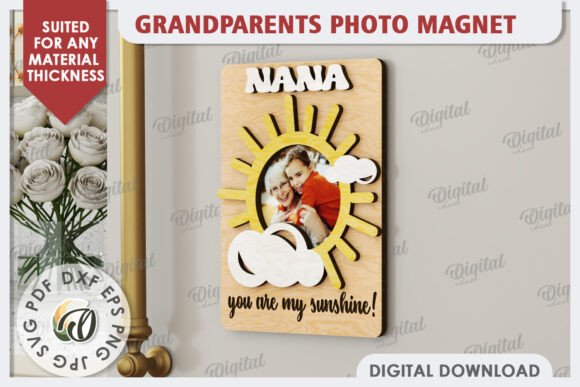
The most frequent point of confusion arises immediately after checkout. When you buy a Grandparents Photo Magnet Laser Cut design online, you are purchasing a license to use digital vector files, not a physical object. The beautiful images you see in product listings are mockups intended for inspiration only; no tangible magnet or wooden frame will arrive in your mailbox. Instead, you will receive a compressed ZIP folder containing ten distinct designs in various formats such as SVG, DXF, EPS, PDF, JPG, and PNG.
This distinction is vital for setting realistic expectations. If you are expecting a ready-to-gift item, you will be disappointed. Conversely, if you understand that you are acquiring the blueprint to create unlimited items, you unlock the true value of the purchase. These files are compatible with popular cutting machines like Glowforge, xTool, Cricut, and Silhouette, as well as professional CNC routers. Recognizing that the responsibility for material selection, cutting, and assembly lies with you is the first step toward a successful project.
Common Mistakes in File Selection and Preparation
Once you have downloaded your files, the temptation is often to import them directly into your software and start cutting. This rush can lead to several avoidable errors that compromise the quality of your final product.
- Ignoring File Formats: Not all machines read all file types equally well. A common mistake is trying to force a raster image (like a JPG or PNG) into a vector cutting workflow. While JPGs are great for previewing, they lack the mathematical paths required for precise laser cutting. Always prioritize the SVG or DXF files for the cut layers to ensure clean edges and accurate dimensions.
- Overlooking Scale and Dimensions: Designers often create files at a standard size, but your specific project might require a different scale. Failing to check the actual dimensions in your software before cutting can result in a photo frame that is too small for standard prints or too large for your material sheet. Always measure the design against your intended photo size (e.g., 4x6 or 5x7 inches) and adjust proportionally.
- Neglecting Material Thickness Settings: Laser cut designs, especially those involving interlocking parts for magnets, are calibrated for specific material thicknesses. If you switch from 3mm birch plywood to 4mm acrylic without adjusting your design or machine settings, the pieces may not fit together snugly. This leads to wobbly magnets or gaps that ruin the aesthetic appeal.
Optimizing for Material and Machine Efficiency
The versatility of the Grandparents Photo Magnet Laser Cut allows for use across home decor, stationery, textiles, and even packaging. However, the material you choose dictates the success of the cut. Beginners often assume that any material labeled "wood" or "plastic" will work, but this is rarely the case.
For instance, when working with wood, avoid materials with high glue content or toxic finishes, as these can produce harmful fumes or leave excessive residue on your lens. Similarly, when cutting acrylic, ensure it is cast acrylic rather than extruded, as the latter tends to melt and leave rough edges. Before committing to a full sheet of expensive material, always run a test cut on a scrap piece. This simple step verifies your power and speed settings, ensuring that the intricate details of the laser-cut pattern do not burn or break apart.
Furthermore, consider the end-use of the product. If you are creating these magnets for sale, consistency is key. Document your settings for each material type so that every unit you produce maintains the same high quality. Inconsistency can damage your reputation as a creator and lead to customer dissatisfaction.
Maximizing Versatility Beyond Simple Magnets
While the primary application is obviously a photo magnet, limiting your thinking to just one use case is a missed opportunity. The ten designs included in your download offer a range of styles that can be adapted for various products. With a little creativity, these vectors can be transformed into:
- Custom Stationery: Use the designs as stencils for embossing or as die-cuts for greeting cards.
- Fashionable Apparel: Adapt the vector paths for heat transfer vinyl (HTV) to create unique t-shirt graphics or tote bag designs.
- Packaging Enhancements: Incorporate the cut-outs into custom gift boxes or product tags to add a premium, handmade touch.
- Home Decor: Scale up the designs to create wall art or decorative shelf accents.
The creation options are truly endless, but they require you to think beyond the default settings. By manipulating the layers in your design software, you can isolate specific elements of the Grandparents Photo Magnet Laser Cut to suit different projects. Just remember to respect the licensing terms regarding commercial use if you plan to sell items made from these files.
Final Checks Before You Cut
Before you hit the "start" button on your laser cutter, take a moment to review your workspace and file setup. Ensure your material is flat and securely positioned to prevent shifting during the cut. Double-check that all paths are closed and that there are no stray nodes that could cause the laser head to move erratically. If you are unsure about any aspect of the file or how it interacts with your specific machine, do not hesitate to reach out. Most designers appreciate a message asking for clarification rather than a negative review stemming from a misunderstanding.
By approaching your project with preparation and an understanding of the digital tools at your disposal, you can transform a simple file download into a stunning, tangible keepsake. Whether you are crafting for love or profit, paying attention to these details ensures that your Grandparents Photo Magnet Laser Cut projects are executed with precision and care. Enjoy the process of bringing these designs to life, and take pride in creating something meaningful that honors the special bond between grandparents and their families.